Saturday, 30 March 2013

WEEK 11

ACTIVITY :
Construct and design Prototype and casing for this project.

OBJECTIVE:

  • To place the circuit inside the box.
  • To make the project more tidy.

            Using 
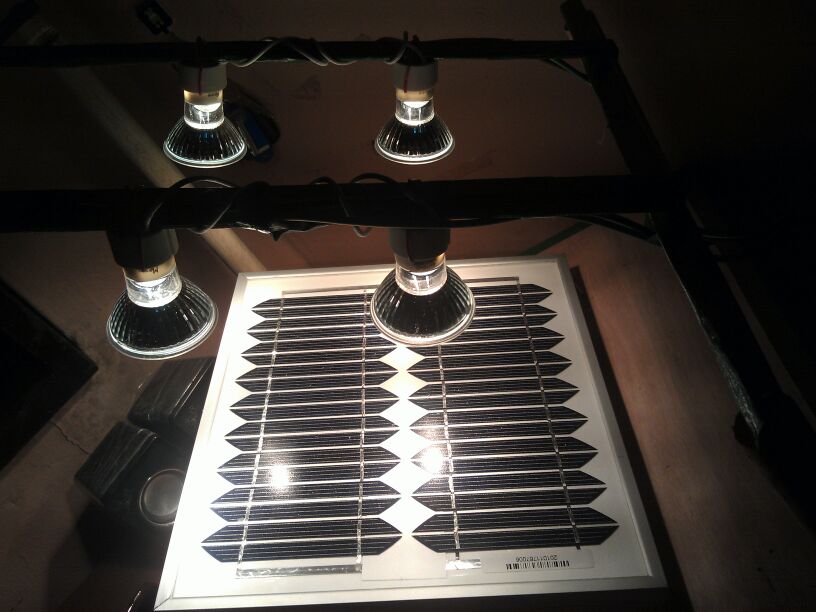
the cupboard, to make the casing for the circuit. Place circuit under the sunlight prototype. Firstly, make the cupboard into square shape. After that, 
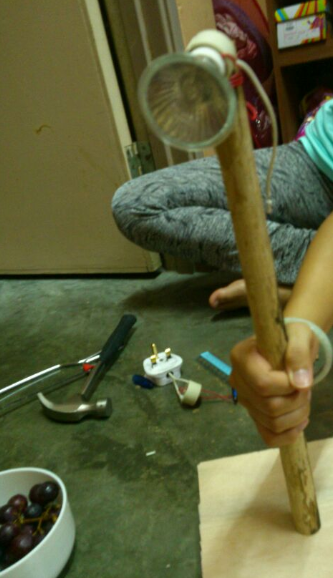
closed the cupboard using sunlight prototype. Make a hole around the cupboard because the input wire can be connecting easily outside the box. 


Saturday, 23 March 2013

WEEK 10

Activity:
  • Construct and  Development circuit to combine 2 source into 1 output. 

Objective:

  • Construct the circuit by using breadboard and test the circuit 
  • Construct and design using print circuit board  (PCB). 
  • Test the circuit
  • Rectifier circuit by using diode
    Construct the circuit by using breadboard
    Design connection of the rectifier circuit
    Process of etching
    Drilling

      Construct the component at the PCB 

      Process of solder the circuit
    Full rectifier circuit 
for this week, the result for the rectifier circuit full fill the expectation  expectation.  The outputs Voltage from the PV and TE can be combine. The Value is more large when combine the two circuit.


Friday, 15 March 2013


WEEK 9

Activity:
  •   Construct the circuit to test the PV module characterisation. To investigate the electrical characteristic of PV module under varying loads.

Objective:
  • To investigate the IV curve characteristic of PV module
    Circuit for measure IV characteristic
    Connection for measure IV characteristic

Saturday, 9 March 2013

WEEK 8

 Activity:
  •   Develop the wiring  of the sunlight prototype.
Objective:

  • To make the spotlight on and support the enough photon for photovoltaic (PV).
  • Connect the positive and negative wire together. 
    240V Mains Halogen Aluminised Spotlight
    spotlight used as sunlight
Cover the wire to make sure there is no contact between each other
Tidy the wire at the playwood
Full prototypeAfter the light is turn on, the reading of PV show that the voltage is increase to 20V. The max voltage of this type of PV is 21V.  The light should be 90degree perpendicular with PV. This condition to make the PV get enough photon from the light. The Picture below show the Voltage of PV using multimeter.
V= 20V

Friday, 1 March 2013

WEEK 7

 Activity:
  Development of lamp act as sunlight 

Objective:
  • Construct the body part of the lamp project
  • Cutting the playwood 
    (a)
(b)
Figure (a) & (b) is a process of cutting the wood to make the prototype 


Process to construct the body part of the spotlight

Cover the playwood with sellotape


Prototype of light to act as sunlight